Sunday, January 29, 2012

Crock Pot Chicken Tortilla Soup

While my cilantro lime chicken was cooking, I used a 2nd crockpot to make this soup and served it on the size. Yum. (Click here for the original pinterest recipe).

Here are the ingredients:

1 can black beans, drained
1 can corn, drained
1 can diced tomatoes (I used a 14.5 oz can that was spicy with diced chiles)
1 can enchilada sauce, red (the recipe calls for 1 packet mix, so you could try that and mix with water)
1 can (8 oz) tomato sauce (I used low sodium)
1 can (10 3/4 oz) cream of chicken soup (I used low sodium/low fat)
2 cup milk
3-4 chicken breasts (I used 5)

I also added:
2 cans of small, diced chile peppers
2 jalapenos

Put everything in a crockpot, except the milk and soup. Combine the milk and soup in a bowl and whisk, then add it to the mix.


Cook on low for 6 hours (I cooked for 4.5 and it was good).

After it is cooked, I pull out the chicken, chop into pieces and put back in. Then, serve with Mexican cheese and crushed tortilla chips on top.


Viola!!

Slow cooker cilantro lime chicken

Today, I decided to take a stab at this recipe from Pinterest: Cilantro Lime Chicken.

It was very easy and very tasty. Here is the recipe:

24 oz jar medium salsa (I used 30 oz of Medium Pace Picante)
Juice from 1 lime
1/4 cup fresh cilantro, chopped (I probably used a bit more, I just grabbed a bushel and chopped)
1.25 oz package taco seasoning (I used 2 packages)
2 jalapeno peppers
6 boneless chicken breasts (mine were frozen)
I also added 1 can of diced green chiles

Then, I threw all of this into a slow cooker for 4.5 hours (it calls for 6).

It was damn good, if I must say so myself. Here are pics:


The amount of cilantro I used


All of the ingredients in the pot


Viola..... I also added a bit of shredded Mexican cheese on top. You could serve this in a tortilla, but I preferred it alone.

Friday, January 20, 2012

Veggie lasagna- a sucessful, real recipe :-)

Now it's time for a real recipe, vegetarian lasagna. Here were my ingredients:

shredded mozzarella, fresh mozzarella, no-boil lasagna noodles, spaghetti sauce (see my rec from the stuffed shells), fresh garlic, squash, artichoke hearts, frozen spinach, portbella mushrooms, jalapeno, olive oil, dried minced onion, crushed red pepper

Here they are (ignore the onion, I got lazy):


I also attempted to add eggplant, but I couldn't get it peeled. HA!!

OK, here we go.

Step 1: Peel the squash (I used 2 squash....). I sauteed all veggies with olive oil, garlic, crushed red pepper, and dried minced onion. I had to do several batches and then save the rest in a bowl when they were done due to the very small pan I had. Again, I used this garlic:


And here are the spices:


Step 2: Cut up one jalapeno (optional...not like you're forced to do anything else I write)


Step 3: Cut up the mushrooms (ok, you don't have to go in that order)


Step 5: Sautee.... the artichoke hearts were also added now


Step 6: open up the awesome fresh mozz and give it a taste. YUM! I bought the pearls this time so you didn't even need to cut it and they worked fine


Step 7: Make up for the mozzarella by sauteing the spinach. I literally just throw it in frozen in the chunk and let it melt


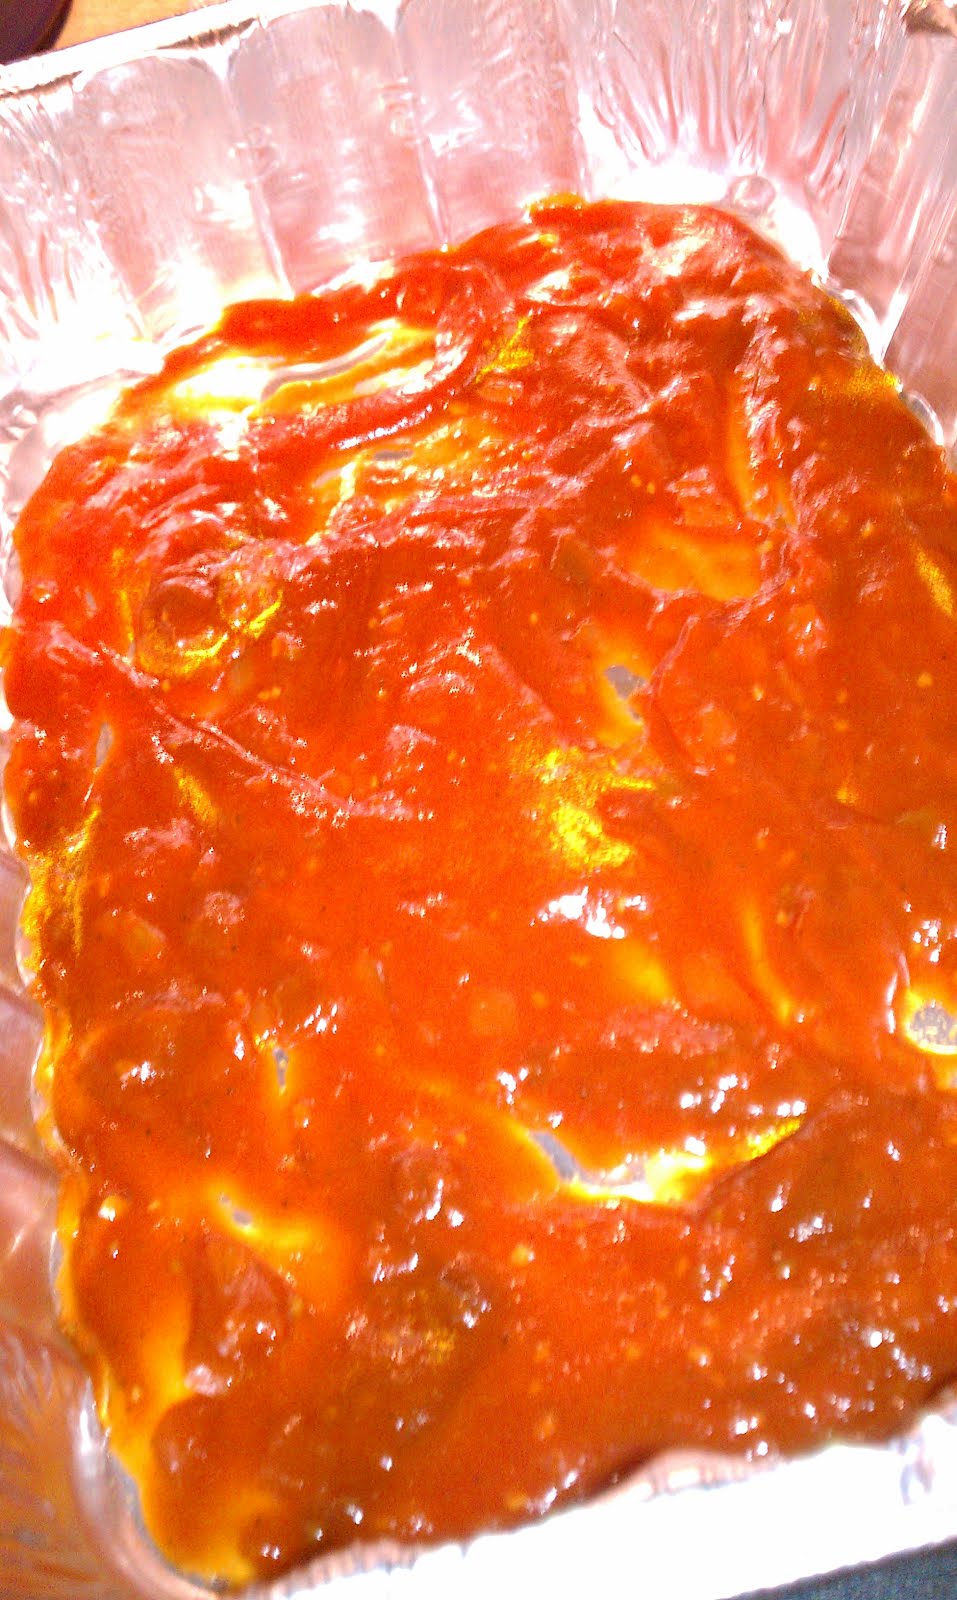
Step 8: Preheat the oven to 375. Put down a layer of sauce


Step 9: Put down a layer of noodles


Step 10: Add a layer of your sauteed mix.


Sprinkle through the fresh mozz (I would have probably put in a bit more mozz than pictured)


Step 11:Cover that layer with sauce, then another layer of noodles, then another layer of sauce, then another layer of sauteed-ness. Don't forget the mozzarella!


Step 12: Cover that layer with noodles, then more sauce (I used 2 bottles in all), and then shredded mozz on top.


Step 13: Cover it with foil and bake for about 45 minutes or until the cheese it totally melted and bubbling. Notice that I used a disposable lasagna tray (about $2 at Hy-Vee) because ours is packed somewhere.

Voila!!!


Breakfast sandwich.... this is what I get for trying something new

When I am not running late in the morning, I often try to start out the day with the breakfast sandwich. It's super easy, unless you decide to cook bacon in a skillet instead of the microwave for the first time.

Here are the ingredients:

Eggs (I use egg beaters), pepperjack cheese, turkey bacon, thin bagel

(Obviously, you can use real eggs, real bacon, real bagels/bread, or any type of cheese)

First, cook the eggs in a skillet. I literally just pour them in on med/low and stir... no fancy folding or anything


Cook the bacon (I always microwave.... here is my skillet attempt)


Hmmm...what happened...

Toast the bread, put the cheese on the bread:


Stack it all up in the sandwich:


Mmmmm.... Viola! I have to admit that I had less eggs this time because I dropped part of them on the floor. Marley dog scarfed them up. Sigh.

Strawberry snack

Here is a very easy quick snack that seems ridiculous to even post, but is something that I had not thought of until recently:

Stawberries + fat free vanilla yogurt= one damn good snack


Mmmmmmm...................

Guess what!? You can even use bananas, blueberries, raspberries, etc. How creative ;-)

Saturday, December 31, 2011

Smore cups- 3rd time is the charm!

On Christmas, I made smores bites from a recipe I found on pinterest. I was a bit distracted by drinks and ping pong, so I left the dough out overnight. They tasted great (they were gone before my family arrived) but were very crumbly, as seen here:


Yummy, crumbly smores

Tonight I figured that I would make the smores again for New Years, but actually share them this time. In my wisdom, I decided to add a bit more butter to the base to see if they stuck better. Let's just say, I should not vary from a recipe. Click here to see the original recipe. Here's what happened:

You need 1 cup of graham cracker crust. Instead of crumbling my own, I bought this premade:


You then should mix 6 tablespoons of butter and 1/4 cup powdered sugar with the 1 cup of crumbs.


Mmmmmm.... butter

This is when I decided to use 8 tablespoons of butter instead. You then put the mix in a mini-muffin pan (about 1 tablespoon-ish each)


Then, you bake the mix for approximately 4 minutes at 350 degrees.

Immediately, the kitchen smelled like Auntie Anne's pretzels. While I enjoy buttery caked goodness, I was a bit thrown off since I was not at a mall, nor was I baking pretzels. I decided to check on the shell base and here is what I saw:


Buttered filled shells! Yuck! I basically created butter bowls, as you can see from the butter in the center. I attempted to salvage them through draining, but this is what happened instead:


Bye-bye original batch

I then had the pleasure of a 2nd trip to the grocery store on this lovely New Years eve to buy my crumbs (I bought double supplies on this trip, just in case!)

So, here is take 3.

I followed the recipe:

Ingredients- 1 cup of crumb mix, 1/4 cup of powdered sugar, 12 marshmallows, 6 tbsp butter, several chocolate bars (makes about 24 cups)

Step 1: Add in 1 cup of crumb mix, 1/4 cup of powdered sugar, 6 tablespoons of melted butter (no more!)


Step 2: Mix this and then press into a mini-muffin pan to form a shell:


Step 3: Bake the shells for approximately 4 minutes at 350 degrees. (I slightly overbaked them)


Step 4: Pull out the shells and add a piece of chocolate in the middle of each:


Side note: I would recommend the smaller size hershey bars. I bought some small and some big and here is the size difference between the two:


Step 5: Cut a marshmallow in half with wetted scissors (yes, actually wet them) and put the half, sticky side down on top of the chocolate (Note: I tried full marshmallows in a few, that was not successful).


Step 6: Put the pan into the oven for approximately 1-2 minutes, or until the marshmallows are soft.

Step 7: Let them cool for 15 minutes.

Step 8: Carefully remove them from the pan (I used a spoon to help)

Step 9: Melt chocolate bars in a bowl (I microwaved for 1 minute) and then drizzle the chocolate on top (you can dip it, but this was harder and things were falling apart)


Step 10: I put them in the fridge for a few minutes to solidify. This helped prior to serving.


Actual picture!

Viola!!! 3rd times the charm!

Happy New Years.

Carmel apple cookies--> Success!


In my baking frenzy on Christmas Eve, I tried out a recipe for Carmel Apple Cookies from pinterest from this site.

I love carmel and apple and cookies, so I figured what the heck!? I can say that these weren't as popular as the monster cookies. That may have also been because when people jokingly asked if there was apple in the cookie, I replied "no." That may have thrown things off.

Here is the recipe from the website above (and the picture on the right is from the website):

Caramel Stuffed Apple Cider Cookies
Ingredients
1 cup softened butter
1 cup granulated sugar
1/2 teaspoon salt
1 box (7.4 oz) Alpine Spiced Apple Cider Instant Original Drink mix -not sugar free- all 10 packets (I found this in my grocery store near the hot chocolate mixes.)
2 eggs
1 teaspoon vanilla extract
1 teaspoon baking soda
1/2 teaspoon baking powder
1 teaspoon ground cinnamon
3 cups all purpose flour
1 bag Kraft Caramels (14 oz)

Directions
  • Preheat oven to 350° F. Line cookie sheets with parchment. (You really need the parchment!)
  • In a small bowl whisk together flour, baking soda, baking powder and cinnamon.
  • With your mixer (or an energetic spoon) cream together butter, sugar, salt and all 10 packages of apple cider drink mix powder, until light and fluffy.
  • Beat in eggs, one at a time. Add vanilla and mix well.
  • Gradually add flour mixture to butter/egg mixture. Mix until just combined.
  • Refrigerate for about an hour. (If you're really impatient you don't have to do this, but it makes it so much easier to work with.)
  • When you are ready to bake, unwrap your caramels.
  • Scoop out cookie dough ball about the size of a walnut.
  • Flatten the ball of dough slightly in the palm of your hand. Press the unwrapped caramel into the center of your dough and seal the dough around it, covering it completely. Place on parchment covered cookie sheets 2 inches apart.
  • Bake 12-14 minutes, or until very lightly browned around the edges. Please don't over-bake! Once the cookies are done, slide the parchment off of the baking sheet right out onto the counter. Allow cookies to partially cool on the parchment. When cookies are cool enough to be firm but still slightly warm, carefully twist off of parchment and allow to finish cooling upside down (either on the parchment or on a rack.) If you forget about them and they cool too much and stick to your parchment, put them into the freezer for a few minutes and they'll pop right off.
  • Yield: about 4 dozen, depending on how large you make your cookies (or how many caramels have been snitched out of your bag before you begin.) Store in an airtight container.
I pretty much followed the recipe above. Here is what I learned:

1) Putting the dough in the fridge really did help. Don't be too impatient :-)

2) As someone who hates nuts (just add that to the list), I had no clue the size of a walnut. I can tell you, it is smaller than what I estimated. As a result, the caramel to cookie ratio was a bit low.
Here is the size of a walnut (BTW, just put in walnut size to google images and see what lovely things come up)-------------------------->

Well, that just shows you a walnut. My investigation resulted in learning that "the size of a walnut" was common in cooking in the "olden days" and is about a tablespoon.

3) These cookies stuck to parchment paper. Definitely use parchment paper. My husband had to take a knife to get them off of it without the middle coming off (he slide a butcher knife under it). So don't ignore the step telling you to flip them over

4) I did use the exact brand of apple cider and caramel they recommended. I'm sure you can spice it up a bit :-)

Here they are (actual picture!):


With the exception of my 6 year old cousin, most people seemed to enjoy them!

Enjoy!